This is a Department Store building that was sold and in 6 months I converted to Yep, Village Candle Manufacturing Plant 10 Years ago.
This is where the buckle was and the chore to remove the boards.
Here I have got all the boards removed and relieved.
Look at these boards I stacked on edge.
This was the cause of the buckle. Out of all these boards in the picture, only one of them showed evidence of staples to hold them down. Nothing at all in the others.
When the retail store had problems during the raining season we had, the humidity level in the wood rose to 20% and relieved itself at the weakest link.
Five hours later I was done with the replacement of the boards. Monday I will go back and sand it down and poly the red oak patch. It should darken close to the exisiting but will not be a match due to the age difference.
Protecting all the candles in the retail store around the work area is painfull. ha. ha.
Next post for picture of the interior of the shop to give you an idea.
Looks great Marcel! Do you mind coming out and finishing my stairs? I laid 1300 square feet of laminate in my house on my own, upstairs and down. Just haven’t had time to finish the stairs!
Lol, it took me 6 months to squeeze in time to do the rest of the house! I actually need to order some stair nosing, I just keep forgetting (let’s see, I was supposed to order them in January, lol).
The only way to remove a section of hardwood planking in the middle of the floor is to rip out the one board and usually damage 3, and the existing distressed look red oak flooring here was not available.
Sometimes you have to make due with what you can get.
The client was more interested in removing the tripping hazard it created in the retail store. The area had been cordoned off for three weeks.
I much prefer to install a new floor like I did in my Boss’s office in his condo a few weeks ago.
Here are a few pics.
The key factor working in a finished space is to make sure to not get dust all over the building.
Otherwise, you will get shot by the Supreme Commander of the establishment. ha. ha.
So here I have set up a negative air machine that exhaust through an open window. With the door closed, I can do all the cutting I want and the dust will not migrate throughout the house.
If you should be working in a house that has air to air system, you might want to make sure the return air vent is blocked off.
Also pay attention to any smoke detectors when making dust. Disarm them or they will go off.
This is the starter course of the pre-finished maple flooring.
It is important to have this one perfectly straight and a gap at the wall to provide for expansion.
In this installation, I glued and nailed it. More stable of an installation IMO.
This tool is awesome, for this type of work for cutting the interior door trim to make room for the flooring. Position it on an upside down piece of flooring and it cuts the trim to allow the flooring to slide under. The blades are expensive, but worth it.
And this was the finished product the next day. And no dust in the upstairs of the house.

 This is where the buckle was and the chore to remove the boards.
 Here I have got all the boards removed and relieved.
 Look at these boards I stacked on edge.
 Five hours later I was done with the replacement of the boards. Monday I will go back and sand it down and poly the red oak patch. It should darken close to the exisiting but will not be a match due to the age difference.

 :mrgreen:
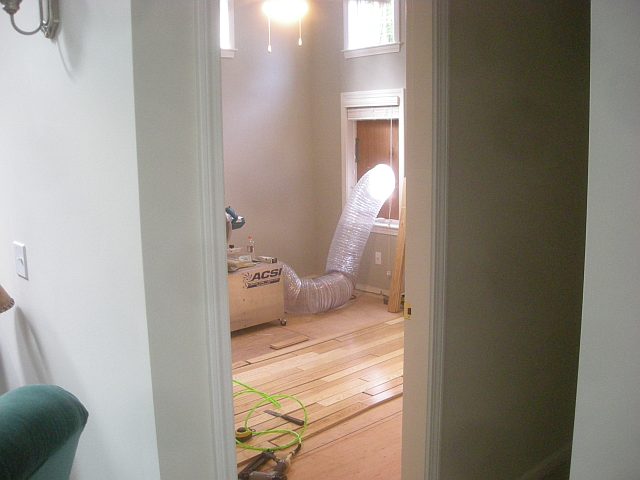 The key factor working in a finished space is to make sure to not get dust all over the building.
 This is the starter course of the pre-finished maple flooring.
 In this installation, I glued and nailed it. More stable of an installation IMO.
 This tool is awesome, for this type of work for cutting the interior door trim to make room for the flooring. Position it on an upside down piece of flooring and it cuts the trim to allow the flooring to slide under. The blades are expensive, but worth it.
 And this was the finished product the next day. And no dust in the upstairs of the house.