IR Cameras: Inspecting Roofs
Since the 1970s, infrared (IR) thermography, or thermal imaging, has been used for inspecting flat and low-slope roofs to check for moisture entrapment. Employing IR cameras for home and commercial roof inspections is on the rise, with millions of square feet now being inspected using this technology every year.
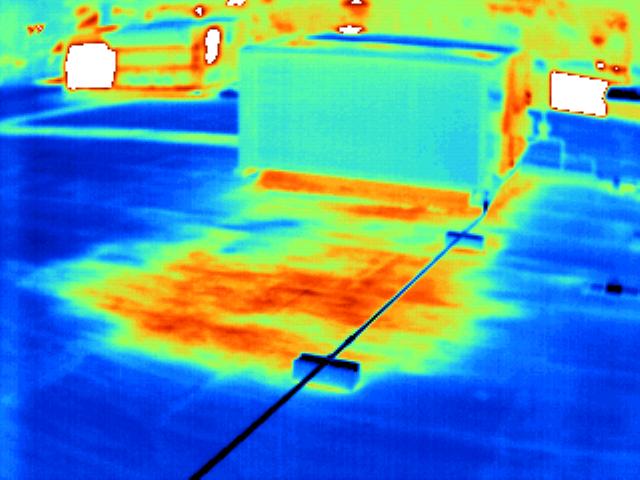
Replacing damaged roofs can cost as much as $8 to $10 per square foot, and billions of dollars are lost every year because of premature roof failure.  The main causes of premature roof failure and high maintenance costs are moisture intrusion and undetected wet insulation inside the roofing system. Because thermal imaging makes apparent temperature differences viewable, it is excellent at finding moisture and then documenting problem areas during roof inspections. The roof absorbs heat during the day and releases it when the temperature falls later. Wet areas release heat slower than dry areas. Because of this, the wet and dry areas are readily viewable in a thermal image, which displays apparent temperature differences as gradient colors.
Inspectors can familiarize themselves with this application of thermal imaging to expand their IR services to diagnose problem areas on roofs that have trapped moisture, which can lead to structural problems and expensive repairs.
Advantages of Using IR Imaging for Roofs
- It's fast and accurate.
- It can identify small problem areas before they become larger.
- It provides a thorough assessment of compromised and damaged areas.
- IR equipment is lightweight and portable.
- It provides visual documentation of problems.
- It is non-invasive.
- It can be used for inspections that are conducted as part of regular home maintenance.
There are few disadvantages to using thermal imaging for inspecting a roof. The main things to be aware of are the roof's composition and the weather conditions. Both of these factors can influence the ability of infrared technology to provide accurate and useful information.
Weather Conditions
- the difference between interior and exterior temperatures;
- the rate of temperature change in the hours before viewing the thermal images;
- the amount of solar loading; and
- wind speed.
- winds of less than 15 mph;
- sunny and clear conditions on the day prior to the inspection; and
- a quick decrease in the ambient temperature right before collecting images.
An infrared inspection during warm weather relies on solar loading to create the apparent temperature difference between wet and dry spots, and is best performed at dusk, when the difference will be most extreme. Imaging during cold months is made possible by creating a large inside-to-outside temperature difference in the building, which is another way to allow the wet and dry spots to be viewed.
Roofing-Covering Materials
It is important for inspectors to know the composition of the roof to be inspected with an IR camera because the roof-covering materials affect how well thermal imaging can detect moisture. Most common materials pose no problems. Any commercially available rigid insulation board, as well as composite boards and tapered systems made from the same materials, can be "read" through thermal imaging. This includes organic fibers, perlite, cork, fiberglass, cellular glass, polystyrene, polyurethane, isocyanurate and phenolic insulation materials.
Inverted roof membrane assemblies with extruded polystyrene insulation between the ballast and protective membrane are poor candidates for thermal imaging inspection, although they are not common. Some other construction types that can pose problems include roofs with concrete pavers, roofs with lightweight concrete or gypsum, and highly reflective metal roofs. Infrared imaging can still be used in many of these cases, though it may be more difficult to read the images.
Inspection Tips
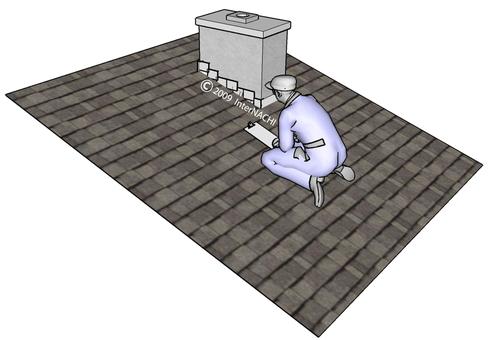
It is helpful to know the design and composition of the roof, as well as exactly what type of insulation has been installed. This will help determine how thermal imaging can be best employed to gather data. If possible, knowing a little about the history of the roof in relation to any previous problems can also be beneficial. Note the flashing and penetration details, as moisture intrusion at these points may indicate inadequate or missing installations.